

There’s something deeply satisfying about slicing into a loaf of homemade sandwich bread—and realizing it’s softer than anything you’ve bought at the store. No strange aftertaste, no stiff crust, just pillowy slices that bend without breaking. This guide shows you exactly how to make sandwich bread that stays tender, slices cleanly, and works for everything from toast to school lunches.
—
Why Homemade Sandwich Bread Feels So Much Softer
Store-bought bread relies on additives and long shelf life. Homemade bread relies on balance.
Soft sandwich bread comes down to:
– The right fat
– Enough moisture
– Gentle kneading
– Proper rise time
Once those pieces fall into place, the texture changes completely.
—
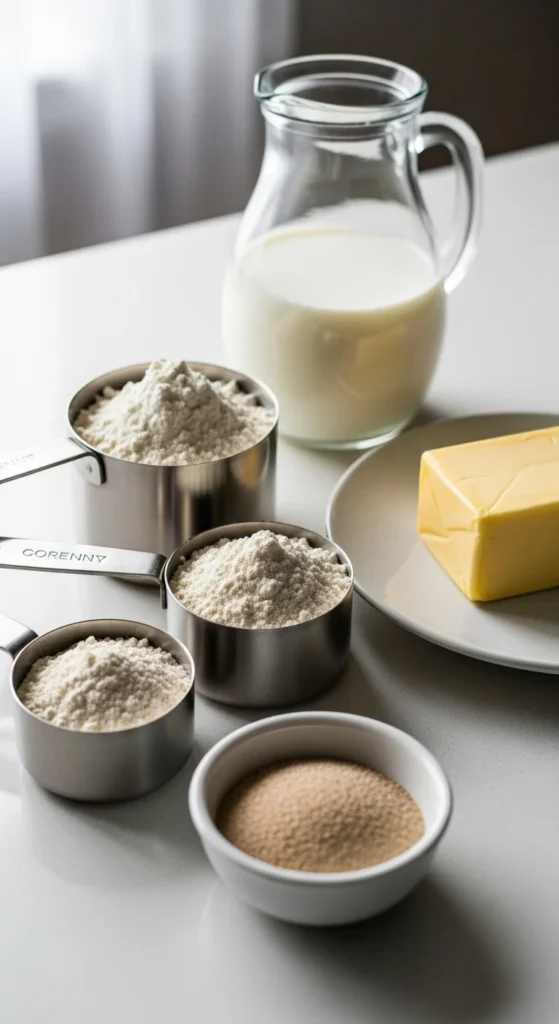
Ingredients That Create a Soft Crumb
You don’t need anything complicated—just the right combination.
Basic Ingredients
– All-purpose or bread flour
– Warm milk or water
– Active dry yeast
– Sugar
– Salt
– Butter or oil
Milk and fat play a big role here. They soften the crumb and keep slices tender for days.
Ingredient Tips
– Milk gives a softer bite than water
– Butter adds flavor, oil adds flexibility
– Sugar feeds yeast and helps browning
—
Step-by-Step: Making the Dough
This process is simple and forgiving.
Mixing the Dough
1. Warm the milk until just warm to the touch.
2. Stir in sugar and yeast, then let it sit until foamy.
3. Add melted butter, salt, and flour gradually.
4. Mix until a soft dough forms.
The dough should feel slightly tacky but not sticky.
—
Kneading Without Overdoing It
Kneading builds structure, but too much makes bread tight.
How to Knead
– Knead by hand for 8–10 minutes
– Or use a mixer for 5–6 minutes
– Stop when dough feels smooth and elastic
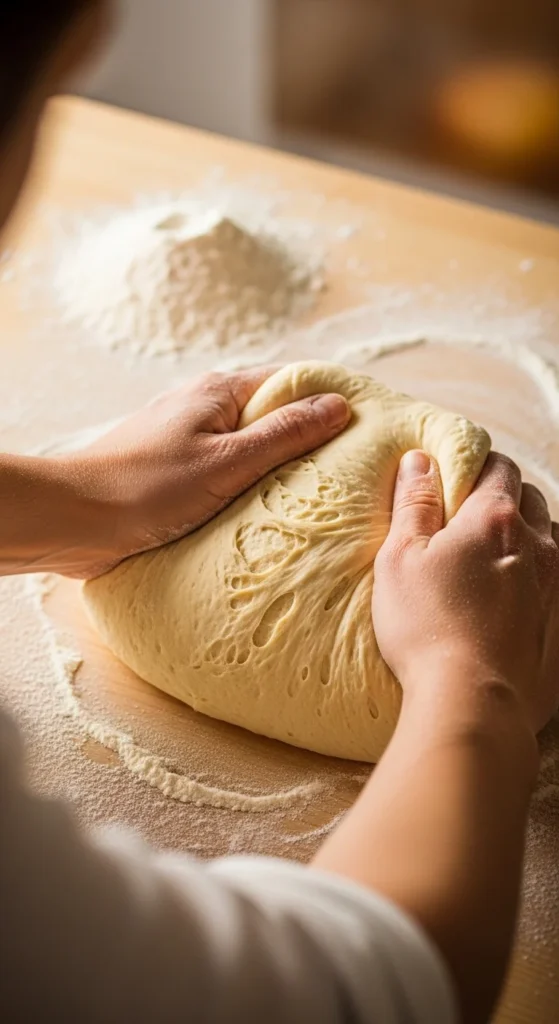
If you press the dough and it slowly springs back, it’s ready.
—
The First Rise Matters More Than You Think
This is where softness develops.
Rising Tips
– Place dough in a lightly oiled bowl
– Cover loosely
– Let it rise until doubled in size
Rushing this step leads to dense bread. A slow rise creates a lighter crumb.
—
Shaping for Sandwich Slices
How you shape the loaf affects the final texture.
Simple Shaping Method
1. Gently punch down the dough.
2. Roll it into a rectangle.
3. Tightly roll into a log.
4. Place seam-side down in a greased loaf pan.
This method keeps air evenly distributed.
—
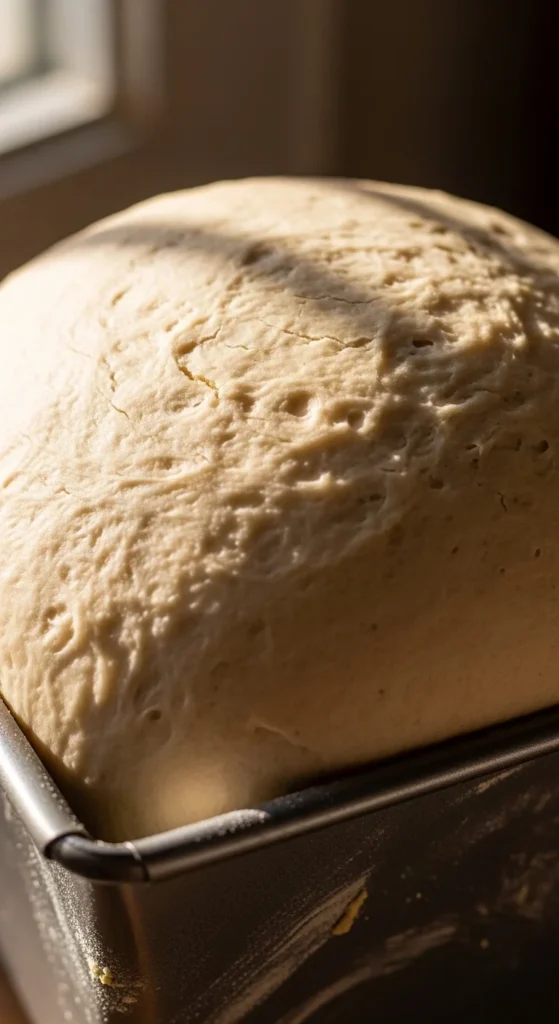
The Second Rise: Don’t Skip It
The second rise gives bread its final lift.
– Let dough rise until just above the pan rim
– Press gently with a finger—indent should slowly bounce back
—
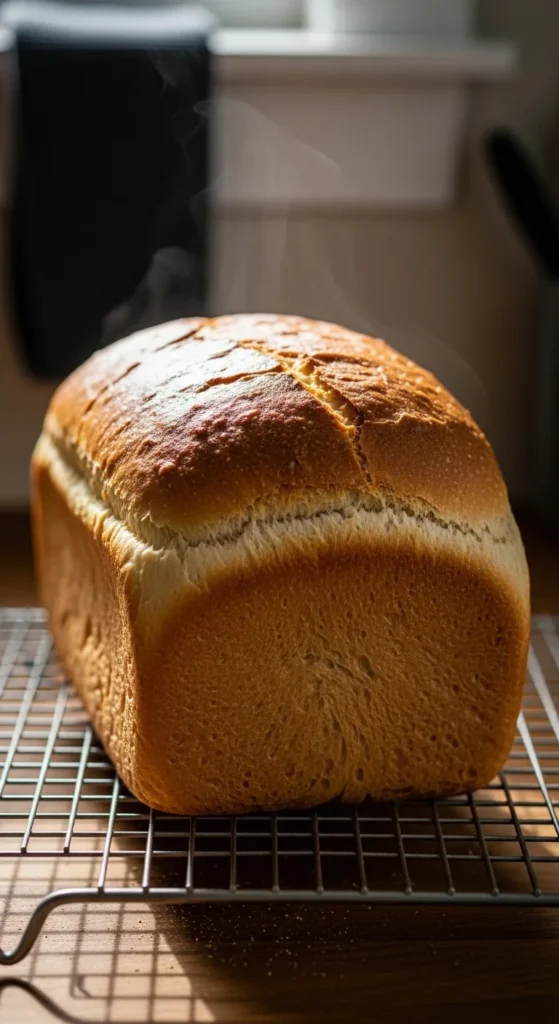
Baking for Softness, Not Crunch
Sandwich bread isn’t meant to be crusty.
Baking Guidelines
– Bake at 350°F (175°C)
– Time: 30–35 minutes
– Cover loosely with foil if browning too fast
When tapped, the loaf should sound hollow.
—
Cooling Is Part of the Recipe
Cutting too soon releases steam and dries the loaf.
– Cool in pan for 10 minutes
– Remove and cool fully on a rack
– Slice only when completely cool
—
How to Keep Sandwich Bread Soft for Days
Homemade bread doesn’t last forever—but it stays soft longer with the right care.
Storage Tips
– Wrap in a clean towel for the first day
– Store in a bread bag or airtight container
– Freeze sliced bread for longer storage
Avoid refrigerating—it dries bread fast.
—
Common Fixes for Dense Bread
If your bread turns out heavier than expected, check these:
– Yeast may be expired
– Dough may have been over-floured
– Rise time may have been too short
Each batch teaches you something new.
—
Easy Variations to Try
Once you’ve mastered the base loaf:
– Add honey instead of sugar
– Use milk powder for extra softness
– Brush top with butter after baking
These small tweaks make big texture changes.
—
Final Takeaway
Homemade sandwich bread doesn’t require special tools or bakery skills—just patience and a soft touch. Once you bake a loaf like this, store-bought bread feels like a compromise.

Leave a Reply