
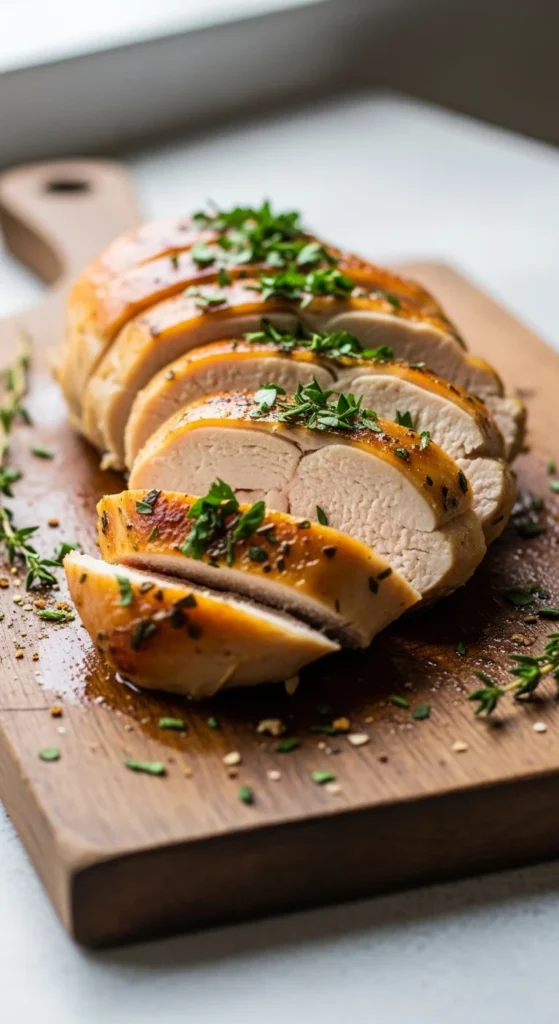
Baked chicken breast has a reputation problem. Too often, it turns out dry, bland, and only good for drowning in sauce. But it doesn’t have to be that way. When baked the right way, chicken breast can be incredibly tender, juicy, and packed with flavor—perfect for weeknight dinners, meal prep, or healthy lunches. This guide walks you through simple, reliable steps that actually work, even if you’ve overcooked chicken in the past.
—
Why Chicken Breast So Often Turns Dry
Chicken breast is lean, which means there’s very little fat to protect it from drying out. A few common mistakes make it worse:
– Baking too long “just to be safe”
– Using unevenly thick pieces
– Skipping seasoning or moisture
The goal is to lock in juices early and avoid overcooking. Once you understand that, everything changes.
—
Start With Even Thickness
One thick end and one thin end means uneven cooking. Fixing this is quick and makes a huge difference.
How to Do It
– Place the chicken breast between parchment or plastic wrap
– Gently pound the thick end until the piece is even
– Aim for uniform thickness, not paper-thin
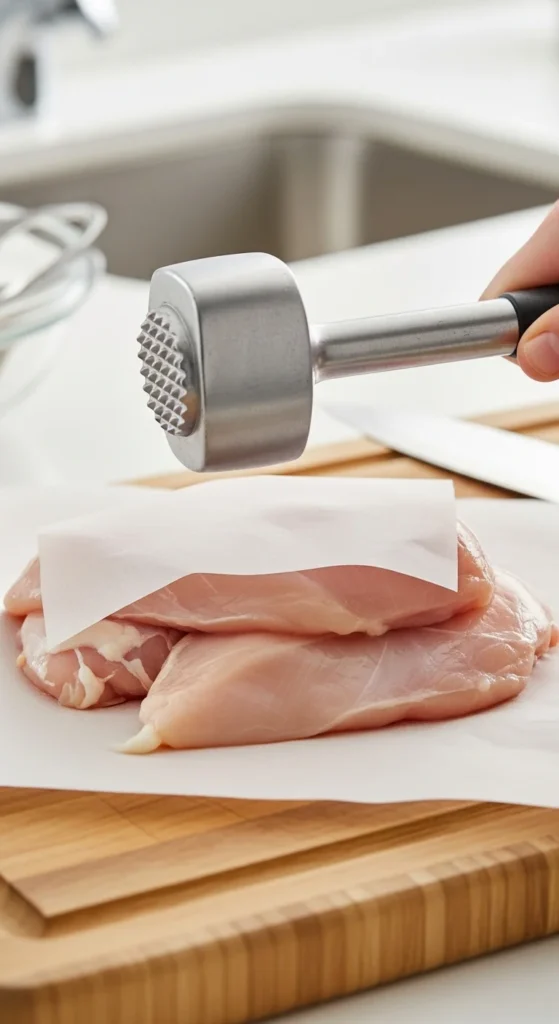
Even thickness means the whole piece cooks at the same pace, staying tender throughout.
—
Seasoning That Actually Sticks
Chicken needs more seasoning than you think. Salt in particular helps retain moisture.
Simple, Flavorful Seasoning Base
– Olive oil (or melted butter)
– Salt and black pepper
– Garlic powder or fresh garlic
– Paprika or smoked paprika
Optional additions:
– Italian seasoning
– Lemon zest
– Dried thyme or oregano
Rub the seasoning all over the chicken, not just on top.
—
The Secret: Bake Hot and Fast
Low temperatures dry out chicken before it finishes cooking. A hotter oven seals in moisture.
Best Oven Setup
– Preheat oven to **425°F (220°C)**
– Lightly grease a baking dish or sheet pan
– Arrange chicken with space between pieces
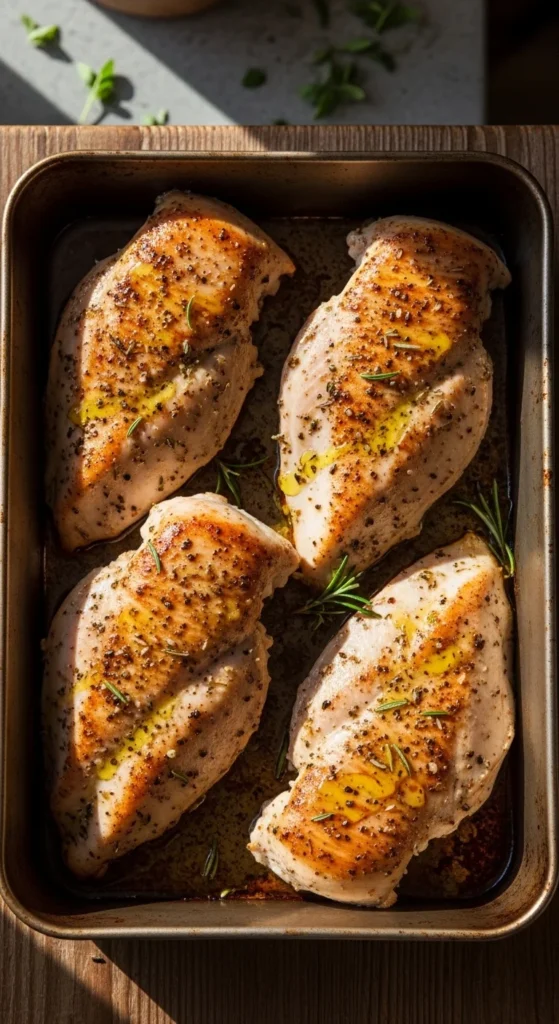
This temperature keeps the outside juicy while the inside cooks quickly.
—
How Long to Bake Chicken Breast
Time depends on thickness, but overbaking is the biggest mistake.
General Guidelines
– Medium chicken breasts: **18–22 minutes**
– Thicker pieces: **22–25 minutes**
The safest and juiciest method is using a thermometer:
– Remove chicken at **160–162°F (71–72°C)**
– It will rise to 165°F while resting
No thermometer? Cut into the thickest part—juices should run clear, and the meat should look opaque but moist.
—
Don’t Skip the Resting Step
This step is easy to ignore and makes a big difference.
– Let chicken rest 5 minutes after baking
– Keep it loosely covered with foil
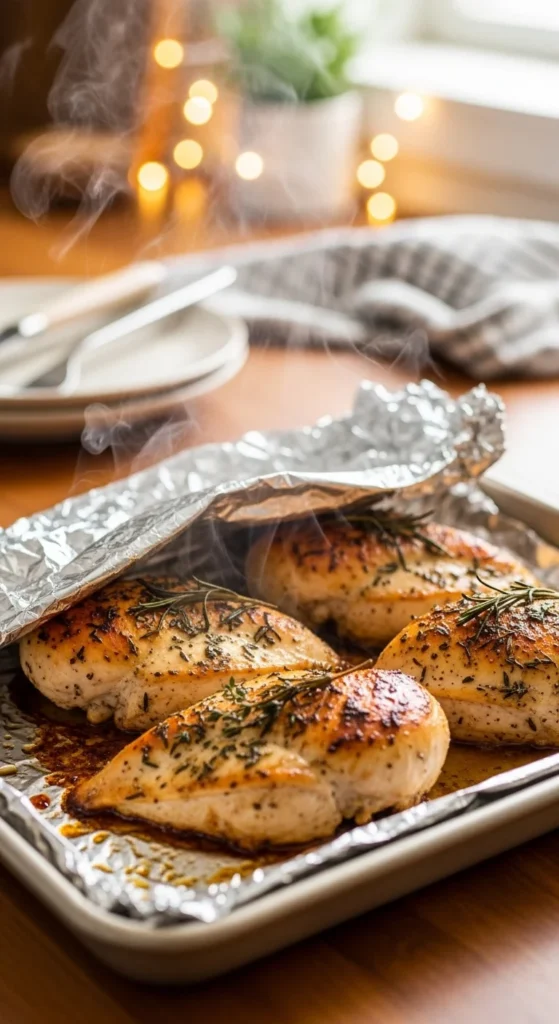
Resting lets the juices redistribute instead of spilling out when you cut.
—
Easy Flavor Boosts Without Extra Work
Once you’ve mastered the base method, flavor variations are simple.
Quick Ideas
– Brush with honey mustard before baking
– Add lemon slices and fresh herbs to the pan
– Sprinkle grated parmesan during the last 5 minutes
You can also finish with:
– A squeeze of fresh lemon
– A drizzle of pan juices
Small touches go a long way.
—
Common Mistakes to Avoid
If baked chicken hasn’t worked for you before, one of these is usually the reason.
– **Skipping oil**: Fat protects moisture
– **Overcrowding the pan**: Traps steam
– **Overbaking “just in case”**: Dries it out
Confidence and timing matter more than cooking longer.
—
How to Store and Reheat Without Drying Out
Proper storage keeps leftovers just as good.
Storage
– Refrigerate in an airtight container up to 4 days
– Slice only when needed to retain moisture
Reheating Tips
– Reheat gently, covered
– Add a splash of broth or water
– Avoid high heat in the microwave
This keeps the chicken tender instead of rubbery.
—
Serving Ideas
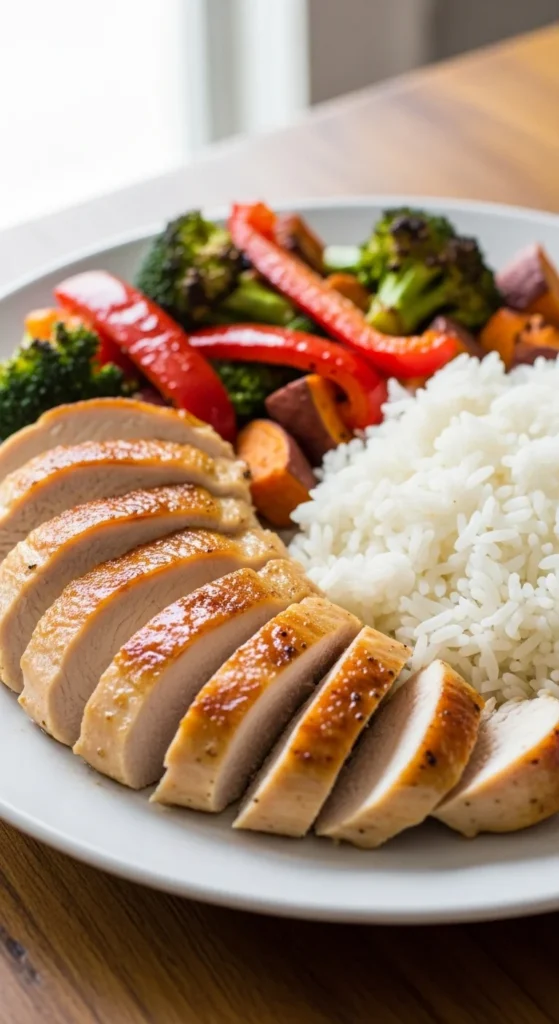
Baked chicken breast is incredibly versatile.
Serve it with:
– Roasted vegetables
– Rice, quinoa, or mashed potatoes
– Sliced over salads or grain bowls
– Stuffed into wraps or sandwiches
—
Final Takeaway
Tender, flavorful baked chicken breast isn’t about fancy tricks—it’s about even thickness, bold seasoning, high heat, and proper timing. Once you try this method, dry chicken becomes a thing of the past.

Leave a Reply