
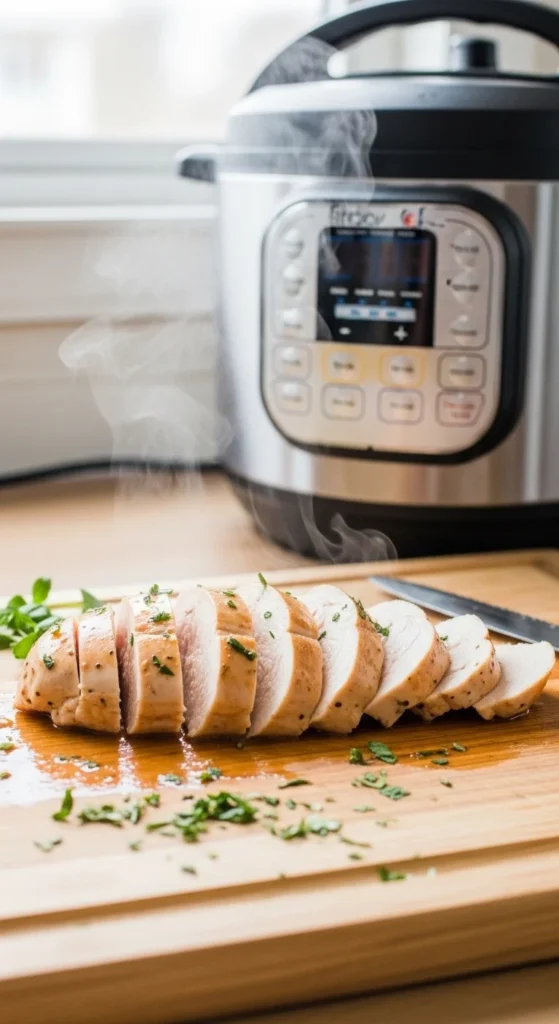
Dry, rubbery chicken breast is one of the most common dinner frustrations. But when you use your Instant Pot the right way — with proper timing, a trivet, and natural release — you get juicy, tender chicken in minutes.
Whether you’re meal prepping for the week or need a quick protein for salads and wraps, this method delivers consistent, fall-apart tender results every time.
Why the Instant Pot Works So Well
Pressure cooking traps steam and cooks chicken evenly from all sides. But tenderness depends on three key steps:
- 1 cup liquid minimum (prevents burn notice)
- Single layer on a trivet
- Natural release for 5–10 minutes
Skip any of these, and texture suffers.
Let’s break it down.
Step 1: Choose and Prep Your Chicken
Boneless, skinless breasts work best for quick cooking.
Check Thickness First
Cooking time depends on thickness — not just weight.
- Under 1 inch thick (about 6 oz): 5–8 minutes
- Over 1 inch thick: 9–10 minutes
- Frozen breasts: Add 2–4 minutes
If pieces vary in size, use a meat mallet to pound them to about ¾ inch thick for even cooking.
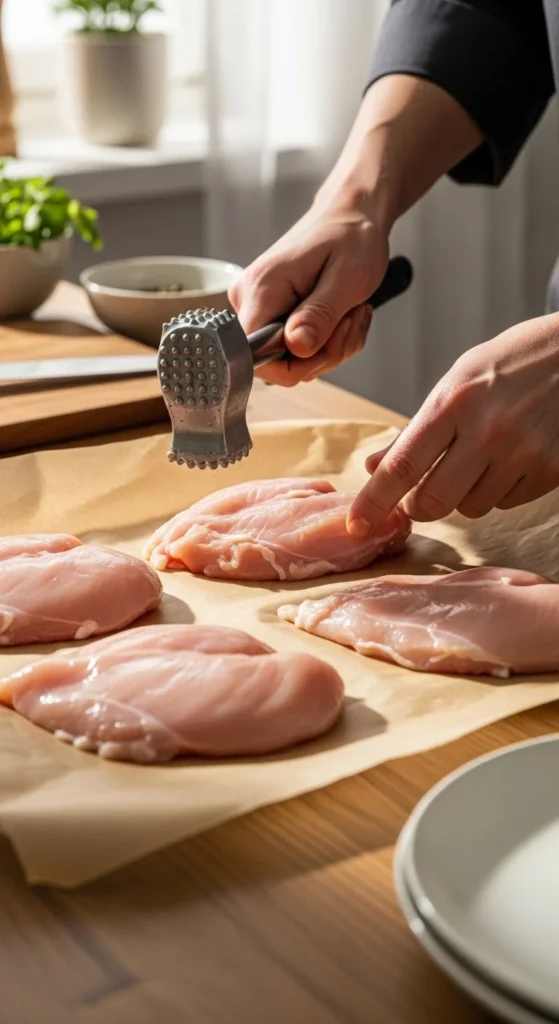
Uniform thickness prevents one end from drying out while the other finishes cooking.
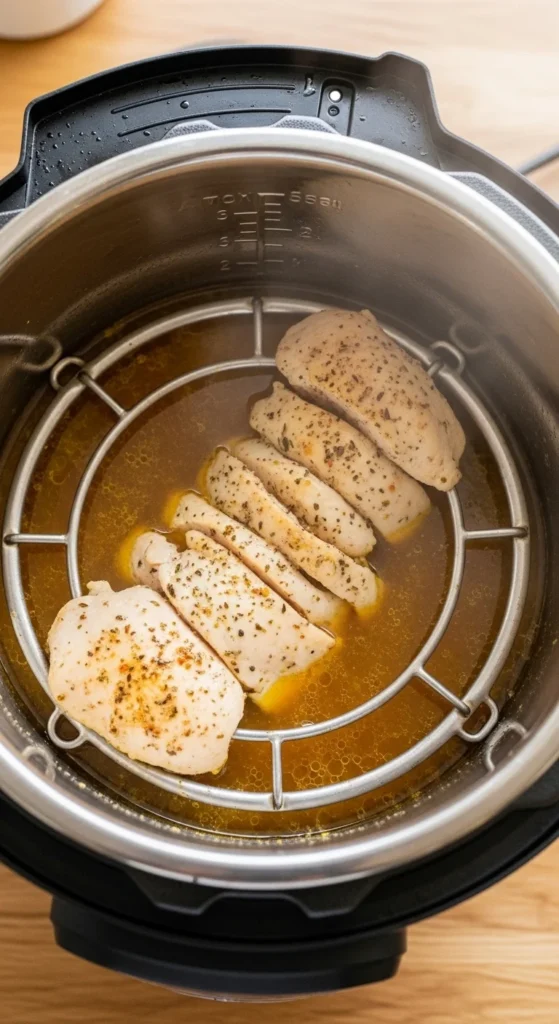
Step 2: Add Liquid and Trivet
This step prevents the dreaded burn notice.
For a 6-quart pot:
- Add 1 cup chicken broth or water
For an 8-quart pot:
- Use 1½ cups liquid
Broth adds more flavor than water.
Place the trivet inside the pot, then arrange chicken in a single layer on top. Don’t stack.
The trivet keeps the chicken elevated so it steams evenly instead of boiling.
Step 3: Pressure Cook the Right Way
Seal the lid and set to High Pressure.
Timing Guide (Fresh Chicken):
- Thin (under 1 inch): 6 minutes
- Thick (over 1 inch): 9–10 minutes
Frozen Chicken:
- 10–12 minutes total
Cooking longer than needed leads to dry, stringy texture.
Step 4: Natural Release Is the Secret
When the timer finishes, don’t immediately turn the valve.
Let the pressure release naturally for 5–10 minutes.
This allows:
- Carryover cooking to finish safely
- Juices to redistribute
- Texture to stay tender
After 10 minutes, carefully quick release remaining pressure.
Skipping natural release is one of the biggest causes of tough chicken.
Step 5: Rest Before Slicing
Remove chicken and let it rest on a cutting board for 5 minutes.
Resting prevents juices from running out when sliced.
Internal temperature should read 165°F at the thickest part.
Make a Quick Sauce From the Pot Juices
Don’t discard the liquid left in the pot — it’s packed with flavor.
Turn on sauté mode.
Mix:
- 1 tablespoon cornstarch
- 2 tablespoons cold water
Stir into the pot liquid and simmer 1–2 minutes until thickened.
Optional additions:
- 1 tablespoon cream for richness
- Extra garlic powder
- A squeeze of lemon
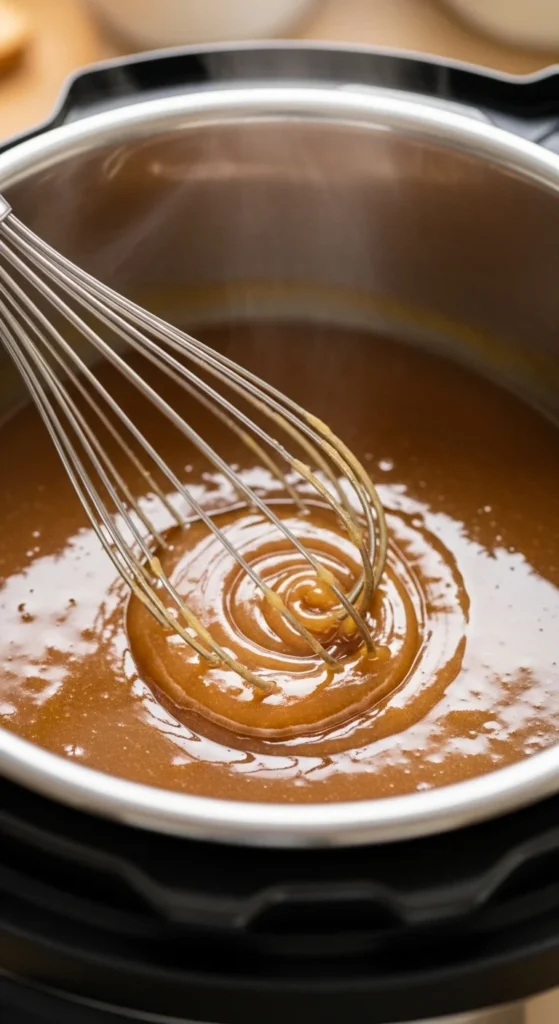
Now you have instant gravy for rice, mashed potatoes, or meal prep bowls.
How to Slice or Shred for Meal Prep
For salads and wraps:
- Slice against the grain into medallions.
For tacos or casseroles:
- Shred while still warm using two forks.
Chicken shreds most easily at 165–170°F.
Store in airtight containers up to 4 days in the fridge.
Optional: Air Crisp Finish
If you want golden edges:
After pressure cooking, brush lightly with oil and place under a 400°F air fryer or broiler for 5–8 minutes.
You’ll get a slightly crisp exterior while keeping the inside juicy.
Common Mistakes That Cause Dry Chicken
Rubbery texture
- Overcooking
- Immediate quick release
Burn notice
- Not enough liquid
- Chicken touching bottom (no trivet)
Uneven cooking
- Stacked pieces
- Mixed thickness
Stick to:
- 1 cup liquid
- Single layer
- Natural release
That trio guarantees tender results.
Bonus: Bone-In Option
If using bone-in breasts:
- Add 2 extra minutes
- Flavor will be slightly richer
Final Thoughts
Instant Pot chicken breast doesn’t have to be dry or boring. With the right timing, a trivet, proper liquid amount, and natural release, you’ll get juicy, tender chicken in under 30 minutes — even from frozen.
Use it for:
- Meal prep bowls
- Wraps and sandwiches
- Salads
- Pasta dishes
- Quick weeknight dinners
Once you master this method, it becomes one of the most reliable proteins in your kitchen.
Save this recipe for later, and pressure cook your next batch with confidence!

Leave a Reply