
Grilled chicken breast sounds simple, yet it’s one of the most commonly overcooked foods out there. One minute it’s underdone, the next it’s dry and chewy. The good news? Perfectly grilled chicken breast is completely achievable once you understand a few key steps. This guide breaks it down in a relaxed, no-stress way so you can fire up the grill with confidence and serve juicy, flavorful chicken every single time.
—
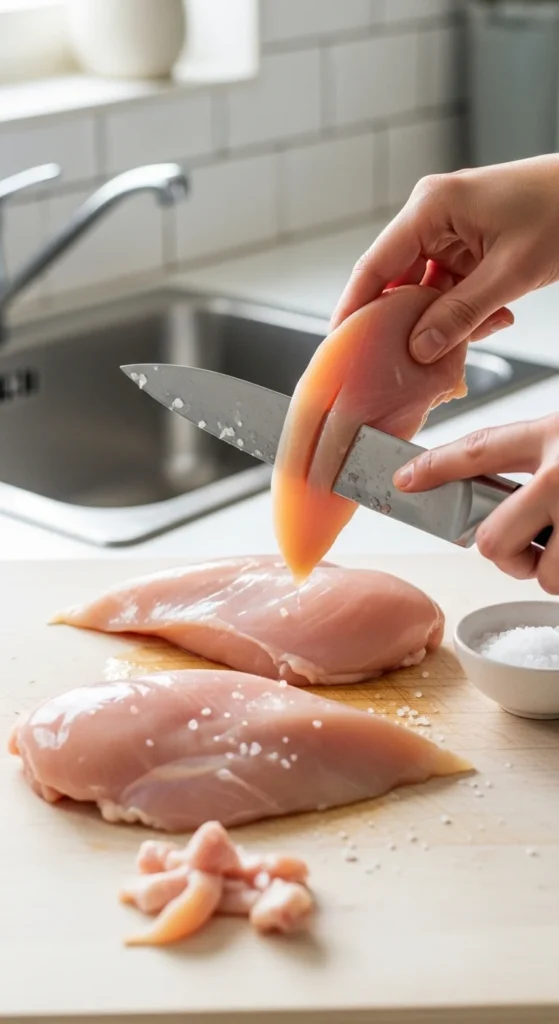
Choose the Right Chicken Breasts
Grilling starts long before the chicken hits the grates. The size and shape matter more than most people think.
What to Look For
– Medium-sized chicken breasts cook more evenly
– Avoid extremely thick pieces if possible
– Trim excess fat or loose edges that burn easily
If breasts are very thick, slicing them horizontally or pounding them slightly helps create even cooking.
—
Marinate or Season for Juiciness
Flavor and moisture go hand in hand. A simple marinade or oil-based seasoning keeps chicken tender while grilling.
Easy Marinade Option
– 2 tablespoons olive oil
– 1 tablespoon lemon juice or vinegar
– 2 cloves garlic, minced
– Salt and black pepper
Marinate for at least 20 minutes, or up to 8 hours in the fridge.
No time? A generous rub of oil, salt, and spices still works well.
—
Preheat the Grill Properly
A hot grill is essential. Chicken sticks and dries out on a lukewarm surface.
Grill Setup
– Preheat to **medium-high heat (about 400–425°F)**
– Clean and lightly oil the grates
– Create two zones: one hot, one slightly cooler
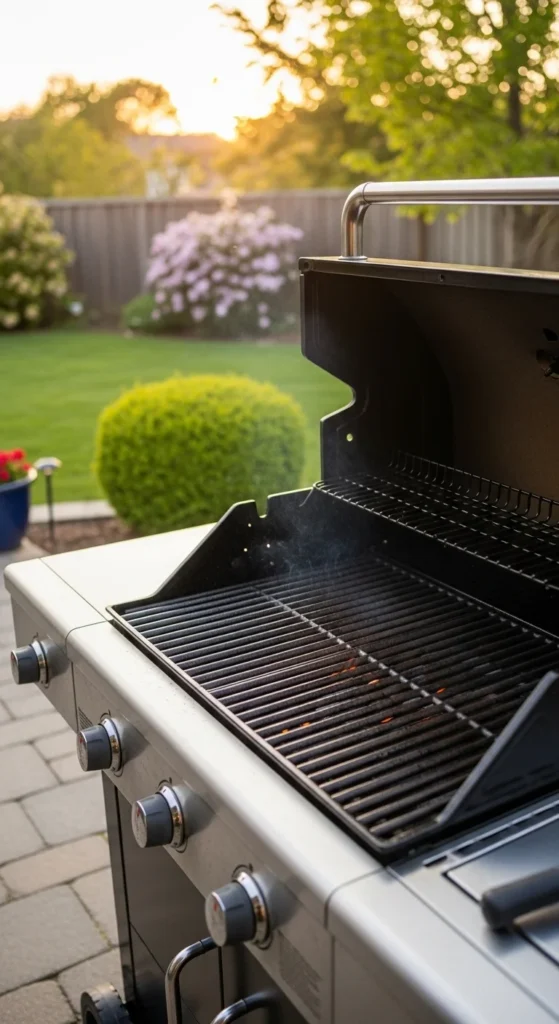
The two-zone setup gives you flexibility if the chicken cooks faster than expected.
—
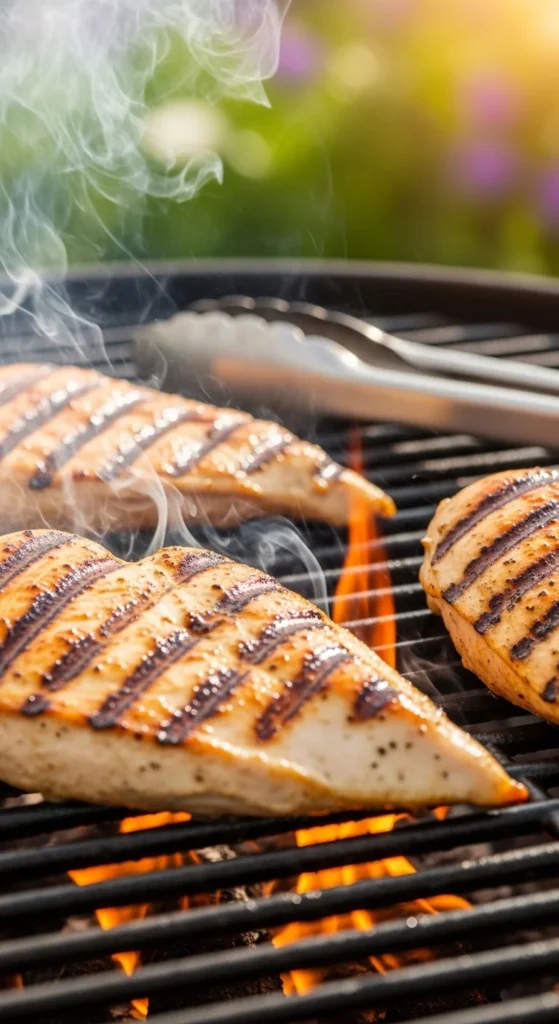
Grill With Confidence, Not Constant Flipping
Chicken breast likes consistency. Too much movement interrupts browning and moisture retention.
Grilling Steps
– Place chicken on the hot side of the grill
– Cook 5–7 minutes without moving
– Flip once and cook another 5–7 minutes
– Move to cooler side if flare-ups happen
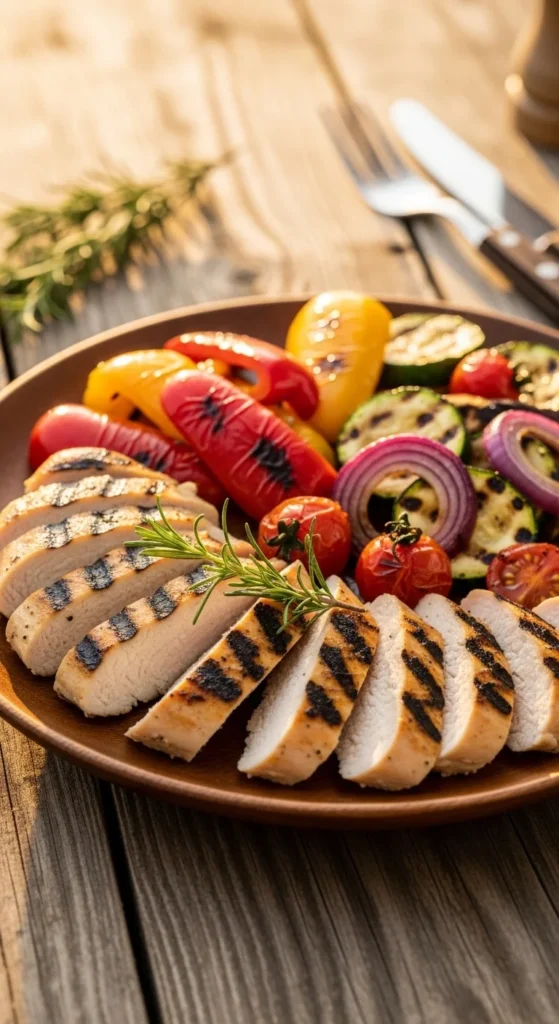
You’re looking for clear grill marks and firm (but springy) texture.
—
Know When It’s Done
Guessing leads to dry chicken. Timing and temperature make all the difference.
Doneness Tips
– Internal temperature: **160–162°F** before resting
– Juices should run clear
– Chicken should feel firm but not hard
Remove from the grill slightly early—carryover heat finishes the job.
—
Rest Before Cutting
Cutting too soon releases all those hard-earned juices.
– Let chicken rest 5 minutes
– Tent loosely with foil
– Slice after resting, not before
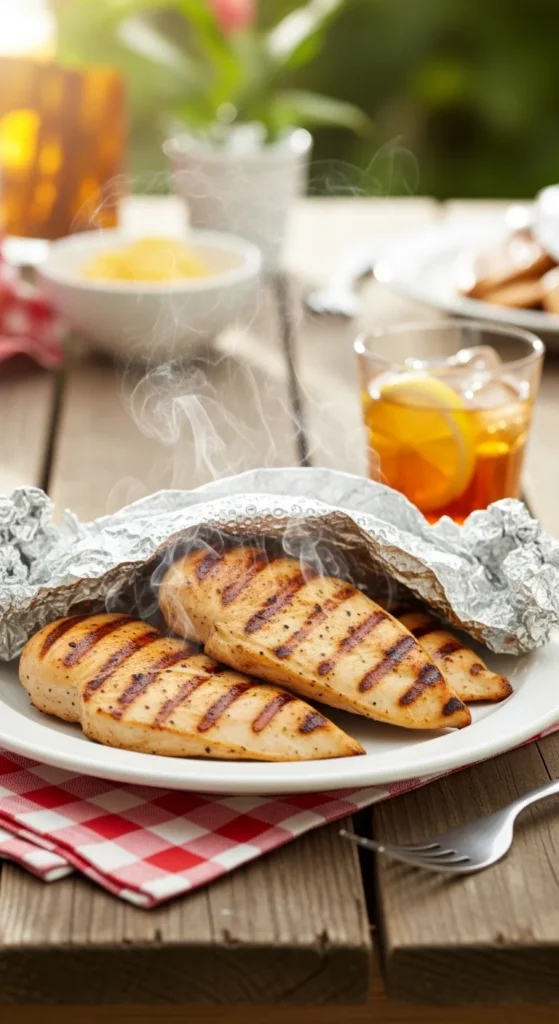
This single step improves texture more than almost anything else.
—
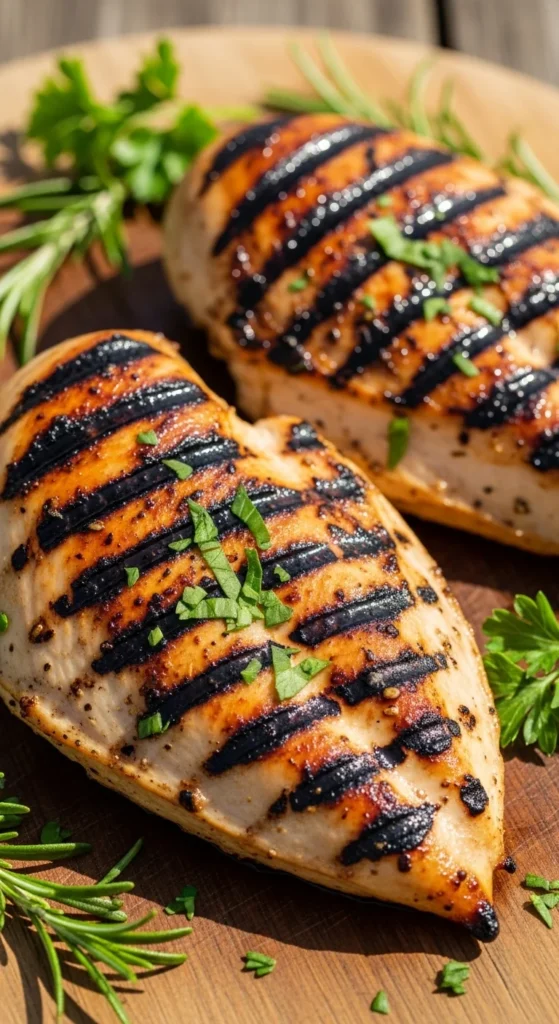
Flavor Finishes That Make It Pop
A small finishing touch adds big personality without extra effort.
Simple Add-Ons
– Brush with melted butter and herbs
– Squeeze of lemon just before serving
– Light drizzle of olive oil
You can also sprinkle chopped parsley, cilantro, or green onions for color and aroma.
—
Common Grilling Mistakes to Avoid
Even experienced grillers slip into these habits.
– Cooking straight from the fridge
– Pressing chicken with a spatula
– Flipping too often
– Cooking on flames instead of heat
Avoiding these keeps your chicken tender and flavorful.
—
Serving Ideas Everyone Loves
Grilled chicken breast fits into almost any meal.
Serve it with:
– Grilled vegetables or corn
– Rice, couscous, or potatoes
– Sliced over salads
– Inside wraps or sandwiches
—
Final Takeaway
Perfectly grilled chicken breast isn’t about luck—it’s about preparation, heat control, and knowing when to step back. Once you follow these steps, dry chicken becomes a thing of the past.

Leave a Reply