
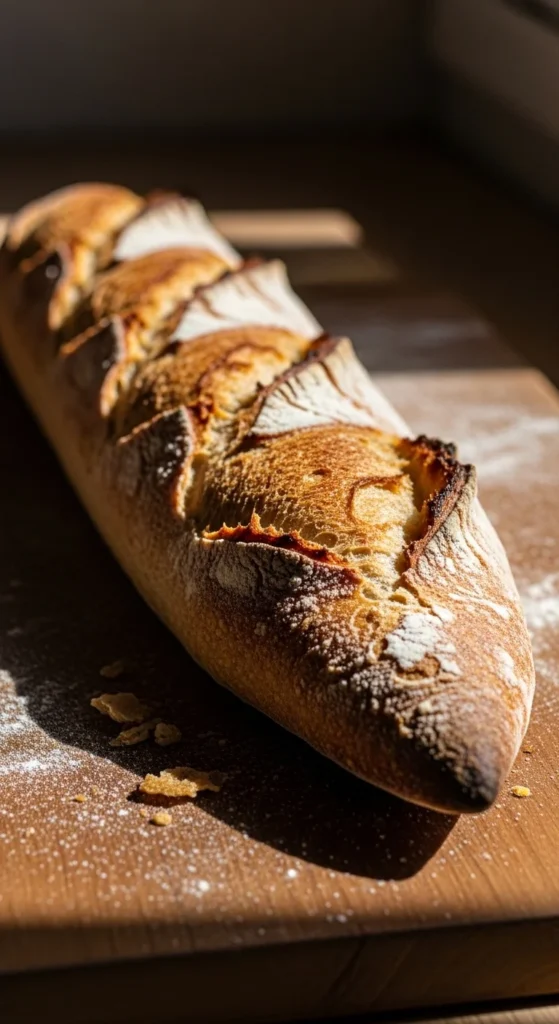
There’s something magical about pulling a loaf from the oven and hearing that faint crackle as it cools. The crust shatters under your fingers. The inside is airy and open. It looks like it came straight from a tiny Paris bakery window.
Good news: that golden crackly crust isn’t luck. It’s technique.
And once you understand hydration, steam, and scoring, you can recreate bakery-perfect French bread at home—every single time.
Let’s break it down step by step.
Start With High Hydration Dough (The Secret to Open Crumb)
If your bread is dense and tight, hydration is usually the culprit.
Professional French bread uses 65–70% hydration. That means:
- 500g flour
- 325–350g water (up to 400g for very open crumb)
- 10g salt
- 2–3g yeast
Why it matters:
- More water = more steam inside the dough
- More steam = better oven spring
- Better oven spring = airy, bakery-style interior
💡 Pro tip: Try a “double hydration” method.
Mix 60–70% of the water first, let the dough form, then slowly add the remaining water. It makes high hydration dough easier to handle while still achieving that open crumb.
Your dough should feel slightly sticky but elastic—not dry and stiff.
Autolyse for Better Structure
Before kneading fully, mix just flour and water and let it rest 30–60 minutes.
This step, called autolyse:
- Boosts gluten development naturally
- Improves extensibility
- Reduces kneading time
After the rest, add yeast and salt. You’ll notice the dough feels smoother and stronger already.
Small step. Big difference.
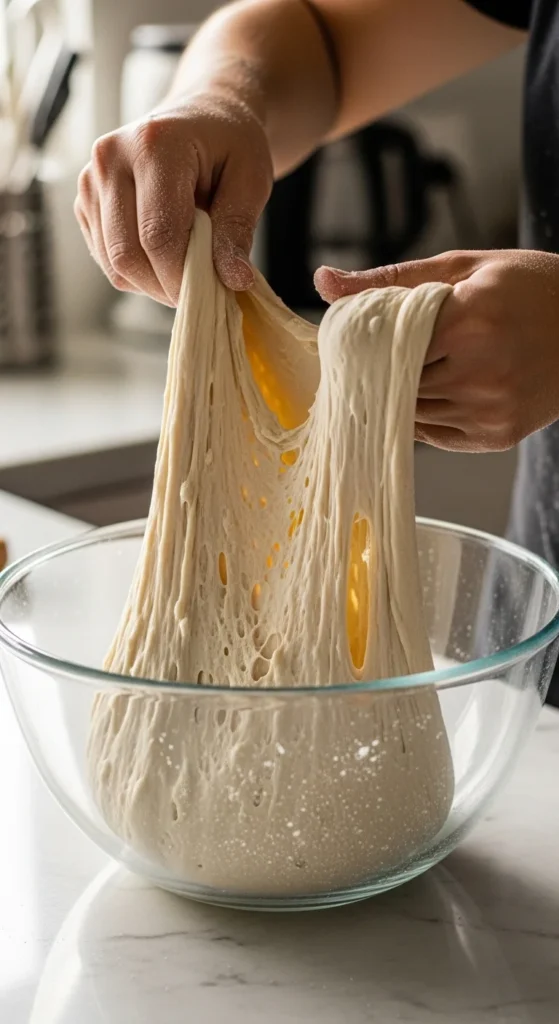
Build Strength With Stretch and Folds
Instead of aggressive kneading, use 3–4 stretch-and-fold sessions during the first 2–3 hours of bulk fermentation.
Here’s how:
- Grab one side of the dough
- Stretch upward
- Fold over itself
- Rotate bowl and repeat
Do this every 30–45 minutes.
This builds gluten structure while preserving air pockets—key for that dramatic oven spring explosion.
Add Flavor With a Preferment (Optional but Powerful)
If you want depth that tastes truly bakery-level, make a simple poolish the night before.
Mix:
- 100g flour
- 100g water
- Pinch of yeast
Let it sit 12–16 hours until bubbly and fragrant.
This small step adds:
- Subtle sweetness
- Complex aroma
- Better crust color
For even more structure, try a cold retard: refrigerate shaped loaves 8–12 hours before baking. Slow fermentation strengthens dough and improves flavor dramatically.
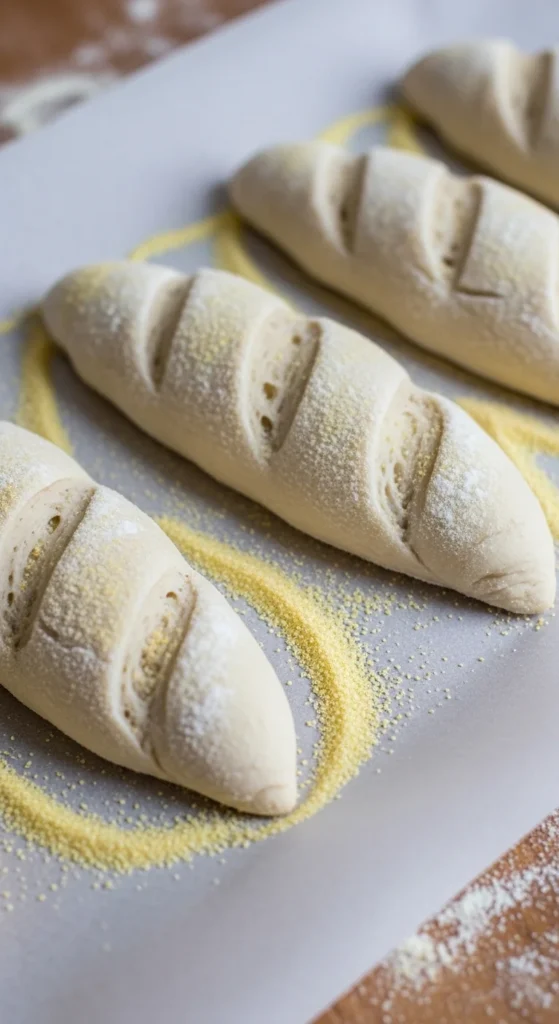
Shape With Tension for Maximum Oven Spring
Flat bread usually means weak shaping.
After bulk fermentation:
- Divide dough (750g makes 2–3 baguettes)
- Gently flatten into rectangle
- Fold like a letter
- Roll tightly
- Pinch seam closed
Surface tension is everything. A tight outer skin directs expansion upward instead of outward.
Place loaves seam-side down on parchment dusted lightly with cornmeal to prevent sticking and ensure smooth transfer.
Score With Confidence (45° Angle for Bakery “Ears”)
That beautiful raised ridge on bakery bread? It comes from proper scoring.
Use a sharp bread lame and:
- Hold blade at 45° angle
- Slash 1/4–1/2 inch deep
- Make 3–5 overlapping cuts
Scoring controls expansion. Without it, bread bursts randomly. With it, you get elegant golden ears.
Confident, quick motions work best. Hesitation causes dragging and deflation.
Steam Is Non-Negotiable
If your crust is pale and soft, you’re missing steam.
Steam injection during the first 10 minutes is what creates a thin, crackly crust.
At home, try:
- Preheated cast iron pan on lower rack
- Pour in boiling water right after loading bread
- Or toss in a few ice cubes
Bake at 450–500°F for the first 20–25 minutes.
Steam keeps the crust flexible so the loaf can expand fully. After 10–15 minutes, vent the oven briefly to release steam. This helps the crust dry and turn deeply golden.
Pair steam + scoring and you’ll see a dramatic transformation.

Bake on a Preheated Baking Stone
A baking stone makes a huge difference.
Preheat it for at least 45–60 minutes at 500°F.
Why?
- Provides thermal mass
- Boosts bottom heat
- Enhances oven spring
- Creates even browning
When the dough hits that hot surface, it expands rapidly before the crust sets.
No stone? A heavy steel tray preheated thoroughly works too.
Watch for These Common Problems
If your bread isn’t bakery-perfect yet, here’s a quick checklist.
Dense crumb?
- Increase hydration
- Improve stretch-and-fold timing
- Avoid underproofing
Pale crust?
- Increase bake temperature
- Improve steam method
- Bake slightly longer
Flat loaf?
- Build more surface tension
- Score correctly
- Avoid overproofing
Small adjustments create major improvements.
Cool Before Slicing (Yes, Really)
It’s tempting. The smell is unreal. But wait at least 20–30 minutes.
As bread cools:
- Interior finishes setting
- Steam redistributes
- Crumb structure stabilizes
Cut too soon and you’ll compress that airy interior.
Instead, listen for that signature crackle as the crust contracts. That sound means you did it right.
The Takeaway
Golden crust French bread isn’t about fancy equipment—it’s about mastering a few essential techniques:
- High hydration dough (65–70%)
- Stretch and folds
- Tight shaping tension
- Confident 45° scoring
- Strong initial steam
- High heat on a preheated stone
When steam injection meets precise scoring, magic happens.
You’ll get that thin, golden crackly crust and open, airy crumb that looks straight from a bakery shelf.
Now it’s your turn. Preheat that oven, score boldly, and bake something beautiful.
And don’t forget—save this recipe for later so your next loaf turns out bakery perfect.

Leave a Reply