
There’s something magical about turning just flour and water into a living, bubbly sourdough starter. No yeast packets. No complicated steps. Just wild fermentation doing its thing on your kitchen counter.
If you’ve been intimidated by sourdough, this is your sign to start. This method is beginner-proof, practical, and based on what actually works: whole grain boosts, precise 1:1:1 feedings, and the magic of a warm 75°F spot.
Let’s break it down step-by-step.
What You Need (Keep It Simple)
You don’t need fancy tools. But precision matters.
Ingredients:
- Whole wheat flour or rye flour (for Days 1–3 boost)
- All-purpose flour (after Day 3)
- Filtered or chlorine-free water (room temperature)
Tools:
- Digital scale (this is non-negotiable for success)
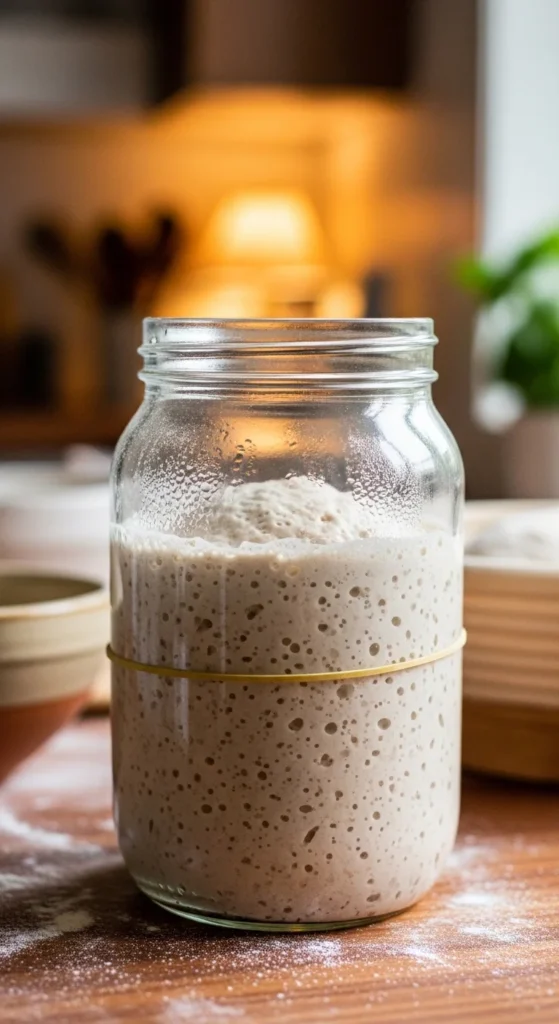
- Wide-mouth glass jar (¾ liter or larger to prevent overflow)
- Rubber band (to mark rise)
- Spatula for scraping sides
- Stainless steel spoon (yes, metal is totally safe—just avoid aluminum)
Why the digital scale? Because sourdough thrives on the 1:1:1 feeding ratio:
50g starter : 50g flour : 50g water
Cups can throw this off. Grams keep you consistent.

Day 1–3: The Whole Wheat Boost
This is where most beginners go wrong—they start with only all-purpose flour. Whole wheat or rye flour contains more natural yeast and bacteria, which jumpstarts fermentation.
Day 1:
- Mix 30–60g whole wheat or rye flour
- Add equal grams of water
- Stir until thick like pancake batter
- Scrape down jar sides
- Cover loosely
Place it in a warm spot between 70–80°F. The oven with the light on works beautifully. So does the top of the fridge or a yogurt maker.
Optional advanced tip: In cooler climates, you can use pineapple juice instead of water for the first 1–2 days. The acidity lowers pH and prevents bad bacteria from taking over.
Day 2–3:
You may see bubbles. Or not. Both are normal.
Feed once daily:
- Discard half
- Add 50g flour + 50g water
- Stir, scrape sides clean
Scraping prevents dried starter buildup, mold, and unwanted hooch formation.
Day 4–7: The 1:1:1 Feeding Routine
Now switch to all-purpose flour (or keep blending with whole wheat if you prefer stronger fermentation).
Every 24 hours:
- Discard down to 50g starter
- Add 50g flour
- Add 50g water
- Mix thoroughly
- Mark the jar with a rubber band
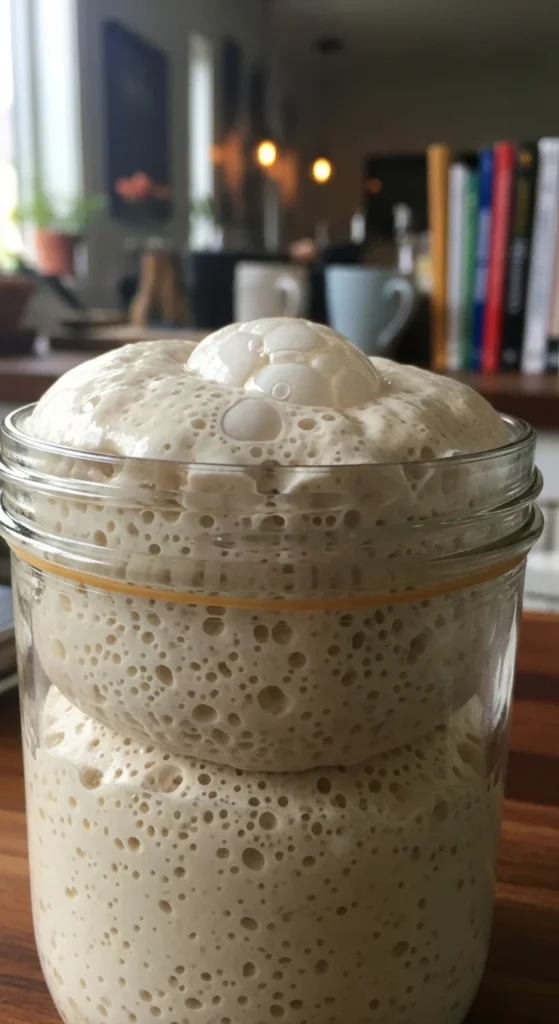
This is where the magic starts. Around Day 5–7, your starter should begin doubling in size within 4–8 hours after feeding.
Watch for:
- Bubbly surface
- Rise and fall pattern
- Slightly tangy smell
- Elastic texture
If nothing is happening? Check:
- Is your kitchen warm enough?
- Are you using whole wheat for a boost?
- Are you measuring correctly with a digital scale?
Temperature is everything. A warm 75°F spot can cut readiness from 14 days down to 7.
The Float Test: Is It Ready?
The float test is the most popular readiness check.
Here’s how:
- Take a teaspoon of starter at peak rise
- Drop it into a glass of water
If it floats? It’s ready to bake.
But timing matters. Always test at peak—when it has doubled and hasn’t collapsed yet. Testing too late gives false negatives.
Average readiness time: 7–14 days. Faster with whole wheat + warm temperature.
What About Hooch?
That grayish liquid on top? It’s called hooch.
Good news: it’s completely normal.
It just means your starter is hungry. You can:
- Stir it back in for stronger flavor
- Or pour it off for milder taste
If hooch appears often, increase feeding frequency.
What To Do With Discard
You’ll be discarding half daily from Days 3–7. Don’t waste it!
Use discard in:
- Pancakes
- Waffles
- Crackers
- Flatbreads
The discard recipe trend is huge for a reason—zero waste, tons of flavor.

Long-Term Maintenance (So It Doesn’t Take Over Your Life)
Once your starter is mature:
Room Temperature Method
- Feed daily at 1:1:1 ratio
Fridge Method (Beginner-Friendly)
- Feed
- Let it rise to peak
- Refrigerate
- Feed once per week
It can stay dormant in the fridge for 2–3 months with proper weekly feeding.
When ready to bake again:
- Remove from fridge
- Feed
- Wait for doubling
- Bake
Common Beginner Mistakes
Let’s save you frustration.
- ❌ Using cups instead of grams
- ❌ Keeping it in a cold kitchen
- ❌ Not discarding enough
- ❌ Using a jar too small (overflow happens fast)
- ❌ Forgetting to scrape the sides
Sourdough isn’t hard. It’s just alive. Treat it like a schedule-based routine and it becomes second nature.
Bonus: Share Your Baby Starter
Once active, you can divide 50g into a new jar and gift it. A healthy starter multiplies beautifully—like edible science.
There’s something deeply satisfying about baking bread from wild yeast you cultivated yourself.
And now you know exactly how to do it.
Save this recipe, grab your digital scale, and start feeding your future bread today. Your first bubbly jar of sourdough magic is just 7 days away.

Leave a Reply