
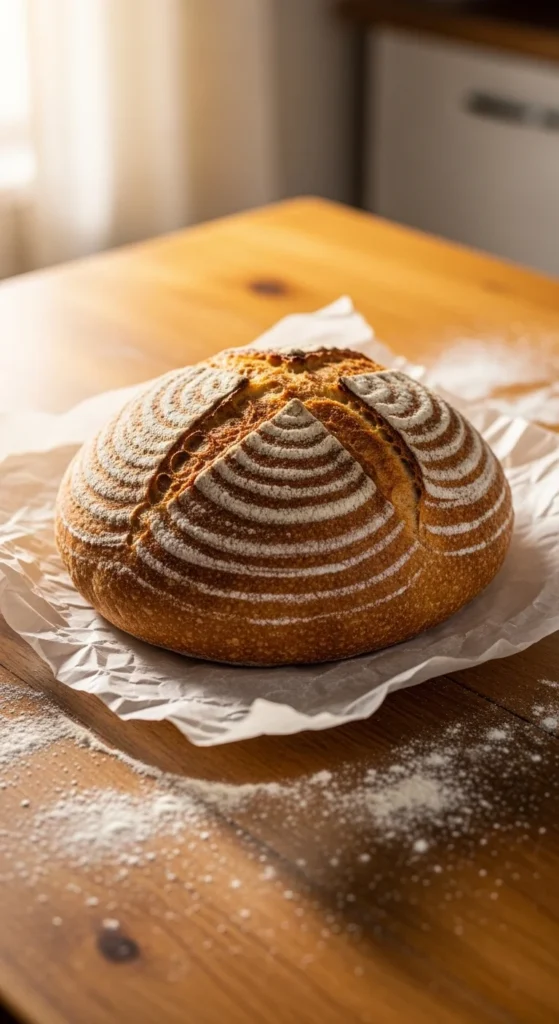
There’s something magical about pulling a golden, crackly loaf of sourdough bread from the oven. The aroma fills the kitchen, the crust sings as it cools, and that first slice reveals a soft, airy crumb inside. Many people think sourdough is complicated, but the truth is beginners can absolutely make bakery-quality bread at home.
With a simple method, the right hydration, and a few smart tricks, you can bake a beautiful sourdough loaf on your very first try.
Start With an Active Sourdough Starter
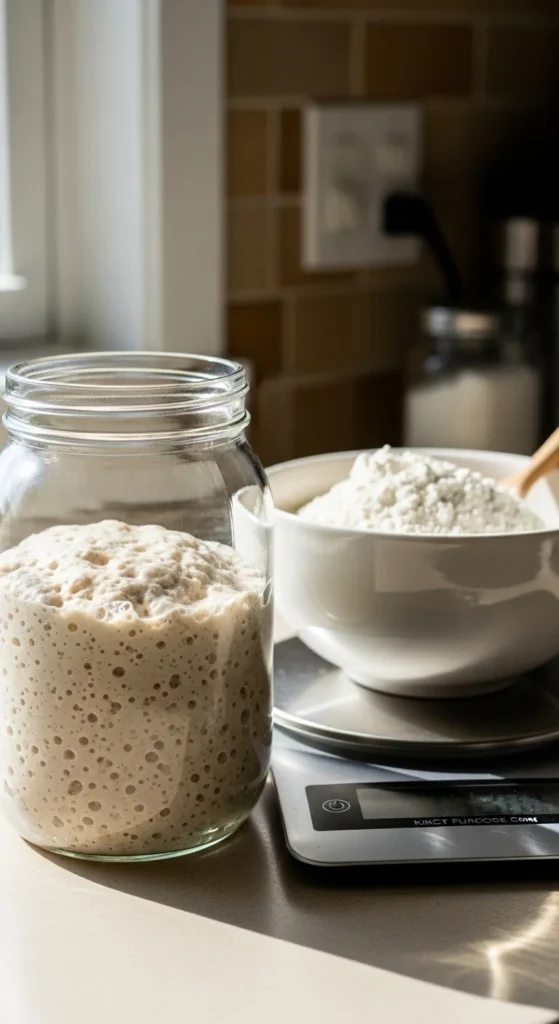
The secret to great sourdough bread is an active, bubbly starter. If your starter isn’t strong, your bread won’t rise properly.
A quick way to test it is the float test.
How to check if your starter is ready:
- Feed your starter and let it rise for 4–6 hours
- It should double in size and look airy
- Drop a small spoonful into water
- If it floats, it’s ready to bake
For this beginner recipe you’ll need:
- 100 g active sourdough starter
- 350–375 g warm water (about 80°F / 27°C)
- 500 g bread flour
- 10 g salt
Bread flour works best because its higher protein helps create structure and a chewy crumb.
Mix the Dough (The Easy No-Knead Method)
This recipe uses a no-knead approach, which makes sourdough much easier for beginners.
Start by combining:
- Warm water
- Active starter
- Bread flour
Mix until a shaggy dough forms. Don’t worry if it looks rough at first—that’s normal.
Now let the dough rest for 30 minutes. This step is called the autolyse, and it allows the flour to fully hydrate while gluten begins forming naturally.
After the rest, sprinkle in the salt and gently mix again until incorporated.
The dough will already feel smoother and more elastic.
Strengthen the Dough With Stretch and Folds
Instead of kneading, sourdough develops structure through simple stretch-and-fold movements.
Over the next 3 hours, perform about 4–6 sets of folds.
How to do it:
- Grab one side of the dough
- Stretch it upward gently
- Fold it over the center
- Rotate the bowl and repeat
Do this every 30 minutes.
This technique strengthens gluten without heavy kneading and traps air inside the dough for that beautiful open crumb.

During this stage the dough will begin to rise and look smoother, puffier, and slightly jiggly.
Bulk Fermentation: Let the Dough Rise
Now it’s time to let the dough rest and ferment.
Leave the dough at room temperature (around 75°F / 24°C) until it grows noticeably in size. This usually takes 3–4 hours depending on your kitchen temperature.
Signs your dough is ready:
- It has doubled or nearly doubled
- Bubbles appear on the surface
- The dough feels airy and light
This stage builds flavor and creates the structure that gives sourdough its signature texture.
If the dough looks dense or flat, it may need more time.
Shape the Dough Like a Pro
Once fermentation is done, gently turn the dough onto a lightly floured surface.
Try not to add too much flour—this keeps the dough soft and helps preserve the gas bubbles inside.
Simple shaping method:
- Pull the edges toward the center
- Flip the dough seam-side down
- Rotate and tuck it to create surface tension
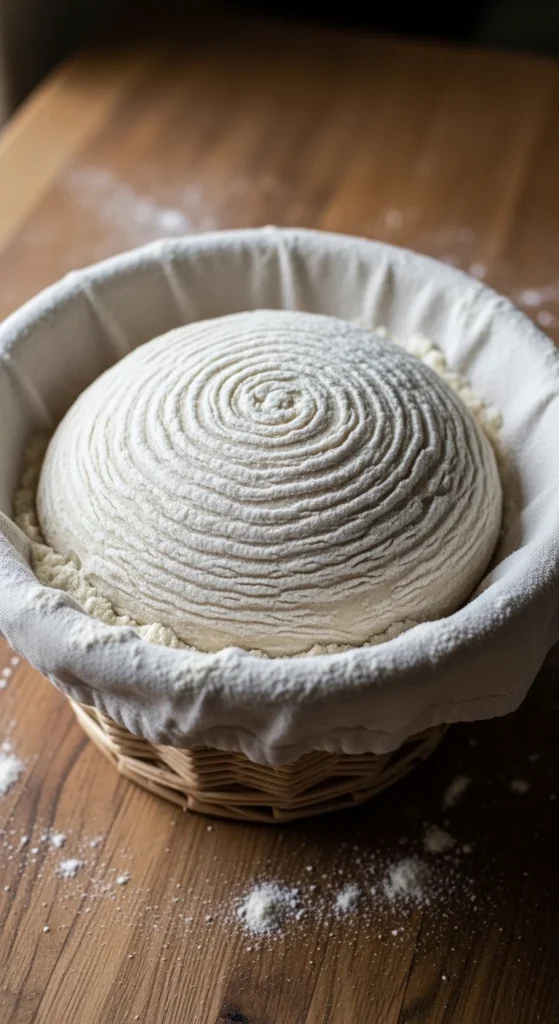
Place the shaped dough into a floured proofing basket (banneton). Dusting with rice flour helps prevent sticking and creates those beautiful flour lines on the crust.
Cold Proof Overnight for Better Flavor
One of the easiest ways to improve sourdough is an overnight cold proof.
Cover the dough and place it in the refrigerator for 8–12 hours.
This step does several important things:
- Develops deeper flavor
- Makes scoring easier
- Improves oven spring
- Strengthens dough structure
It’s also convenient because you can bake the next day whenever you’re ready.
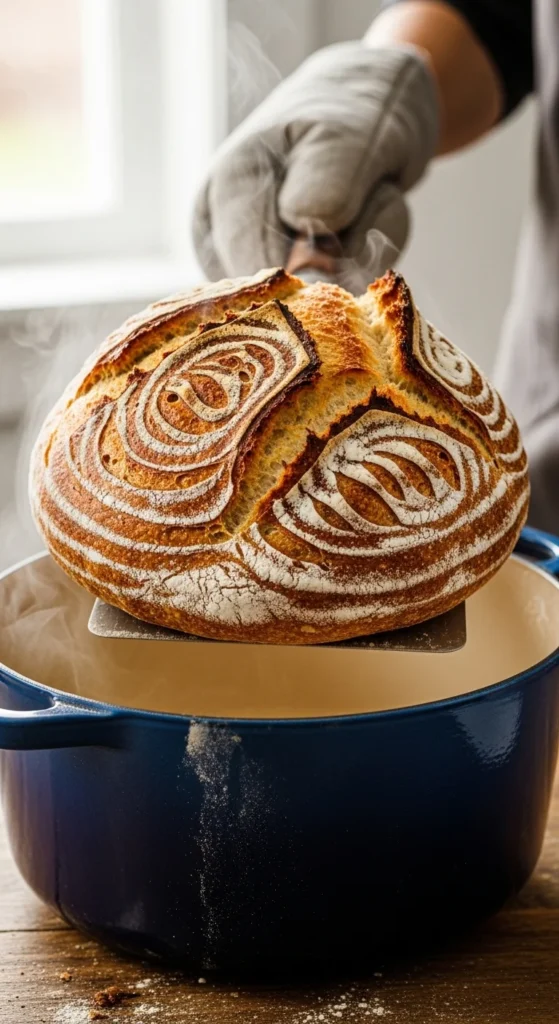
Bake in a Dutch Oven for a Perfect Crust
Preheat your oven to 450°F (230°C) with a Dutch oven inside. The Dutch oven traps steam, which creates that crispy artisan crust.
When ready to bake:
- Place dough on parchment paper
- Score the top with a sharp blade at a slight angle
- Lift the dough into the hot Dutch oven using the parchment
Bake:
- 20 minutes covered
- 20 minutes uncovered
This two-stage baking gives you both oven spring and a deeply golden crust.
The bread is finished when:
- The crust is rich golden brown
- The loaf sounds hollow when tapped
- Internal temperature reaches about 205–210°F
Let It Cool (The Hardest Step)
As tempting as it is to slice immediately, cooling is essential.
Place the loaf on a rack and wait at least 2 hours.
This allows steam to escape and the crumb to fully set. Cutting too early can cause gummy bread.
Once cooled, slice into your loaf and enjoy the crackly crust and airy interior you created from just four ingredients.
Final Thoughts
Sourdough bread doesn’t have to feel intimidating. With an active starter, simple stretch-and-fold technique, and an overnight cold proof, even beginners can bake a beautiful artisan loaf at home.
Once you master this basic recipe, you can experiment with seeds, whole grains, and different hydration levels.
Save this guide for later—your future homemade sourdough loaves will thank you.
1 message remaining. Upgrade to Plus to kee

Leave a Reply